
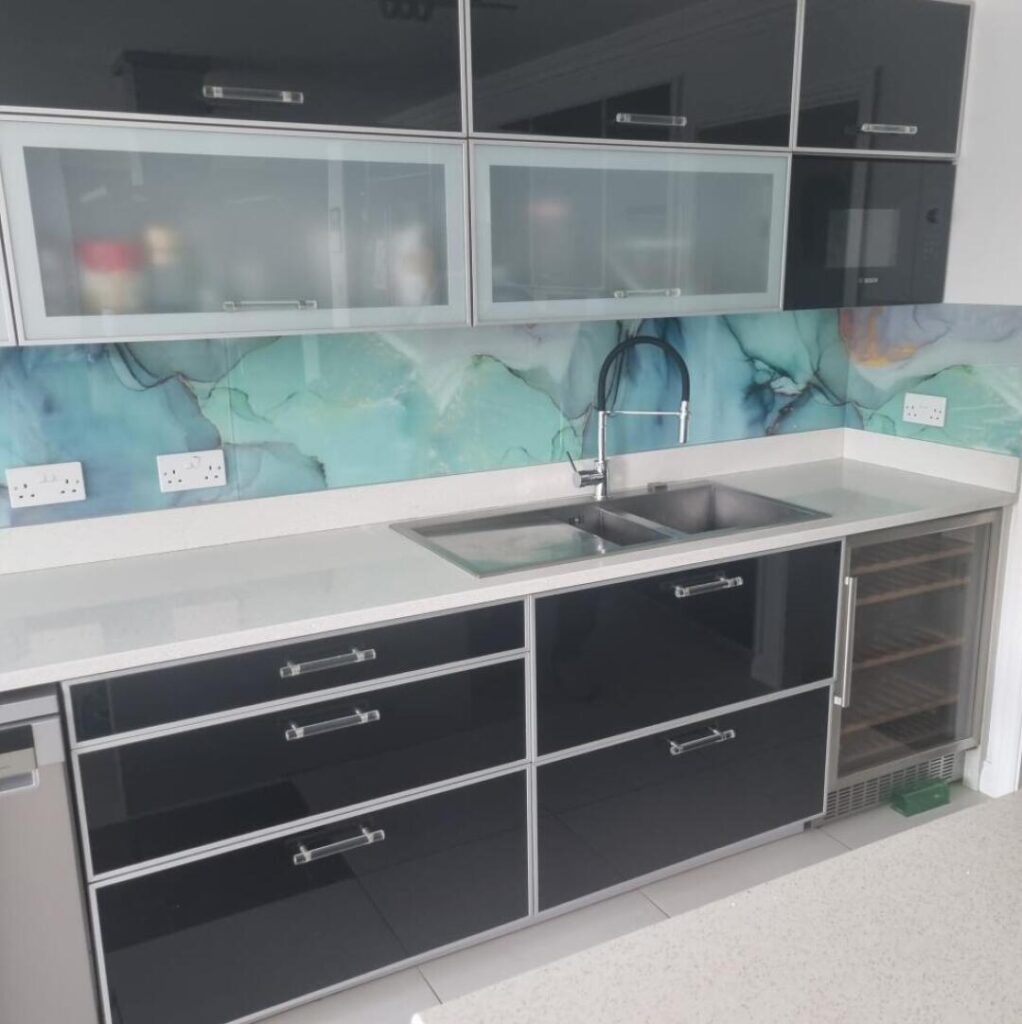
Liquid Aquamarine
The splashback in your kitchen is one of the most import parts of your overall design, they’re cool, protect the wall and add a focal point.
So, it’s worth thinking about how you choose one.
That’s why we’ve put together this little blog with a few pointers on how to get that perfect look … at the right price.
1. What will it cost?
Make sure you are working to a budget!
It can be easy to get carried away when you see some of the amazing new technology and fantastic designs that are available.
Equally, you don’t want to be buying the cheapest splashback you can find as that may end up being a false economy.
Set your budget, try not to go over it, and try find the very best splash for your cash!
Acrylic or Glass?
Acrylic is usually cheaper than glass if you just buy it plain, but they are very similar once you start adding prints and colours.
So, it comes down to where you will be placing the panels.
Acrylic is not the best if there is heat involved so make to use glass behind the hob or cooker.
Non-Toughened Glass Splashback?
No, non, nien!
While it may be cheaper, by quite a long way, to buy non-toughened glass it’s a mistake when you are using it on walls or near heat.
The problems would start more or less as soon as you started to attached the item to the wall. One raised bit of plaster or a hidden nail and ‘pow!’ no more splashback.
Heat would be a problem too. Constantly heating and cooling glass will not only discolour it, it will also cause it to crack.
And, when non-toughened glass cracks it is very dangerous because of the sharp edges, unlike safety glass which will break into relatively harmless chunks.
Make sure any glass you buy has the necessary paperwork to ensure it’s safe.
Staying on budget
As with all design budgets you need to plan the most cost efficient way to achieve your goal.
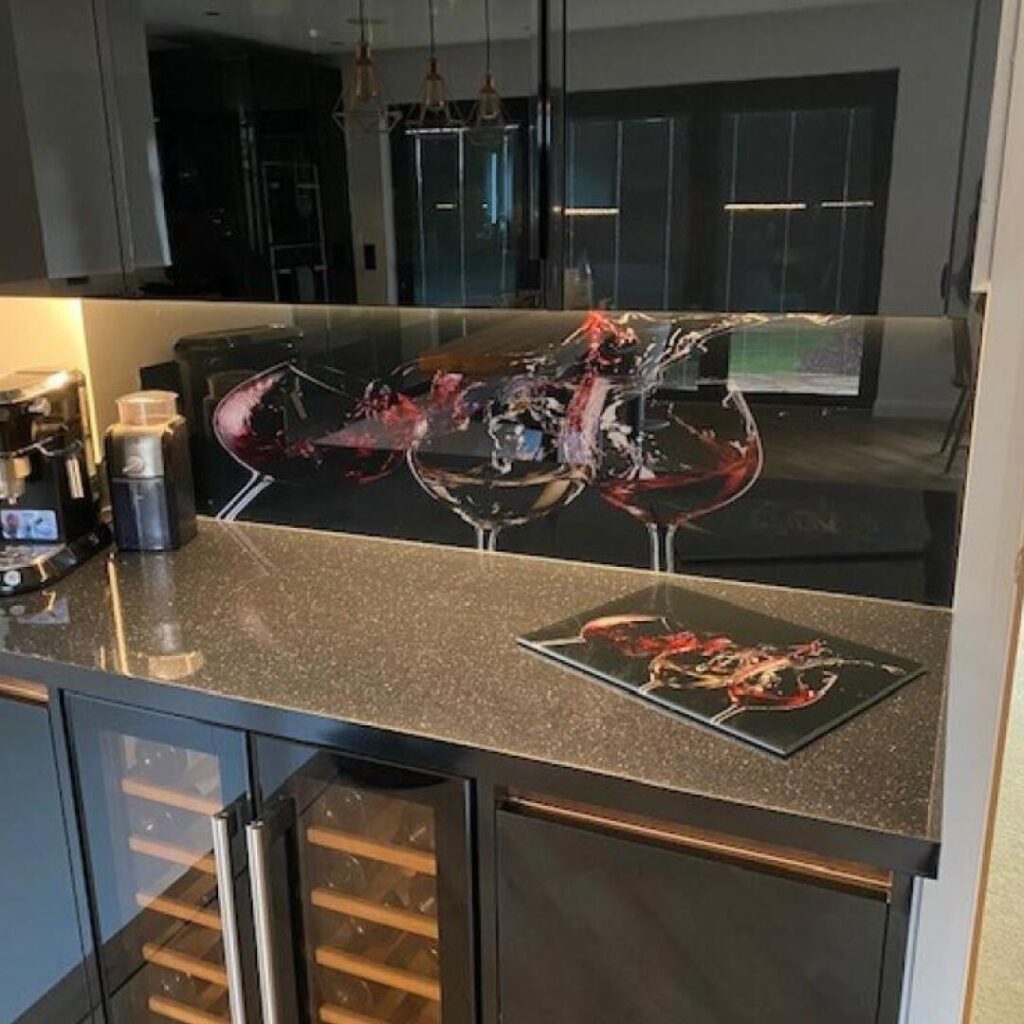
Maybe you would look for an image for the main focal point and then solid colours, slightly cheaper, for the upstands.
Or go the whole hog, avoid any painting at all and mix up acrylic AND glass across all of your walls.
So:
- Mix up paint, acrylic and glass
- The most efficient sizes – look at bespoke
- Avoid glitter, mirror and smoked.
2. Design
After setting your budget, ponder the design of your splashback.
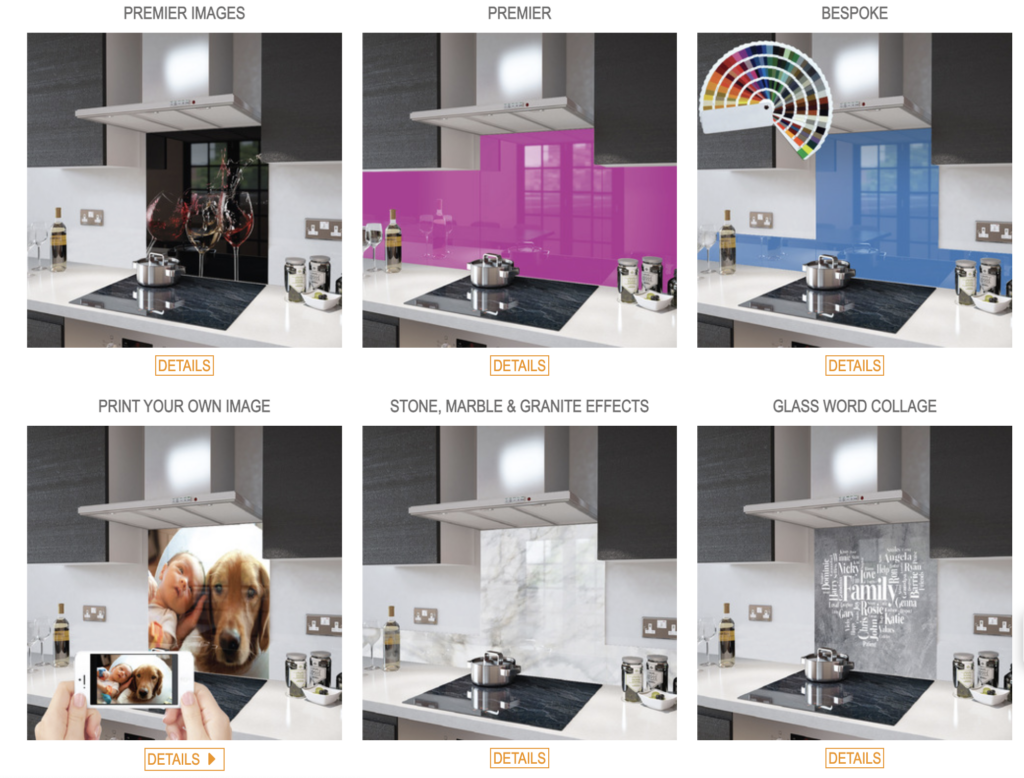
As you are not using tiles or granite you can let your creativity take over and use colours, paint matches, word trees, mirrors and even glitter!
The only limit is your imagination.
Get the family involved, ask your mates, see if you have an artistic friend that can knock you up a design – extra cost but worth the effort.
Take a look at our splashback range for inspiration.
3. Fitting
Choose a fitting method that works for your plans.
You have two main options:
- Hanging holes – predrilled in toughened glass and easy to do yourself with acrylic. Hanging the panels this way means they can be removed but may be more susceptible to condensation or dust behind the splashback if it’s not sealed correctly.
- Adhesive – obviously this is a much more permanent way of attaching panels to the wall. It’s safe, strong and means, when sealed, they should be no way anything can get behind the glass.
You could also use mirror clips if you want but that is a very fiddly way to attach something and it can be difficult if you have a cooker hood or low kitchen cabinet etc.
4. Durability
Obviously, acrylic will scratch more easily than glass but it’s probably easier to replace.
We would say that attaching the panels via predrilled holes and screws is the best way to ensure you can remove any damaged items and replace – or just if you fancy a change.
Over all, glass is the more durable of the materials and, if it’s a similar price to the acrylic, go for that.
5. Cleanliness
Once you’ve spent so long on the decoration and installation of your kitchen, you’ll want to keep it in tip top condition for as long as you can – and splashbacks are very easy to clean.
So, to make sure that you’re not damaging the look of your splashback, just follow these easy tips.
- If you splash sauce or something up your splashback, clean it off straight away – this avoids staining.
- Try not to use glass cleaning products, they are generally made for windows and table tops, so won’t be great for kitchen cleaning.
- Vinegar! Yup, non-abrasive and easy to find.
- Squeegees are great and you probably have one in the shower already (don’t use that one).
- After you get the grease and goo off, buff it up with a lint cloth.
- DON’T USE STEEL WOOL. No matter how dirty the splashback is – especially on perspex – use a sponge.
- Last, but not least, keep the kitchen towels handy.
If you need any more inspiration, check out our site at www.premierrange.co.uk