So, you’re wanting to give your kitchen a fresh new look?
Great!
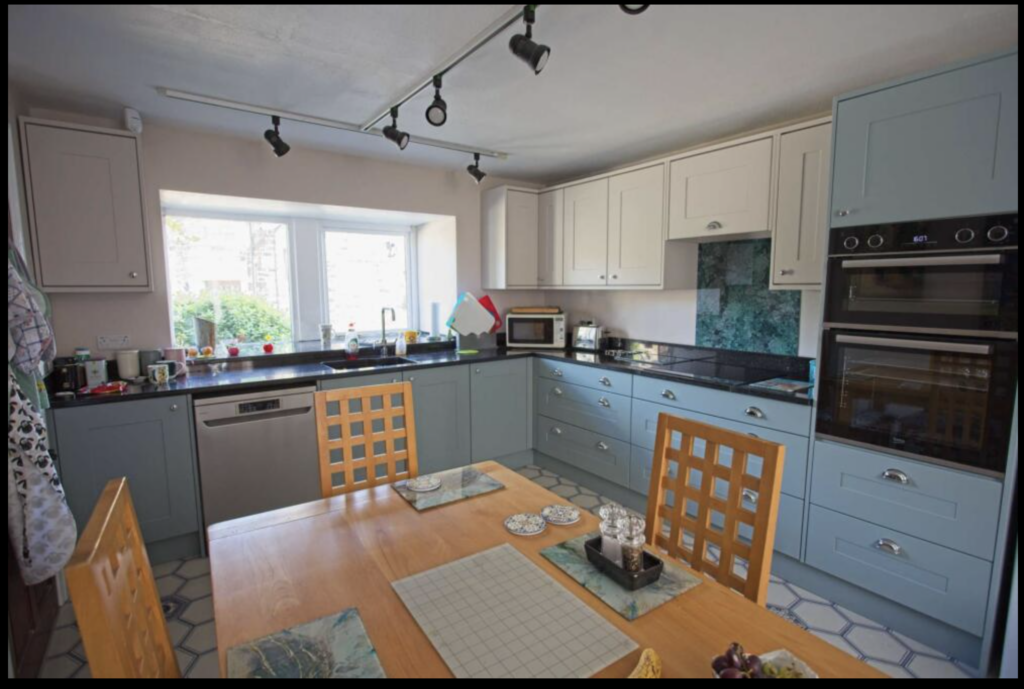
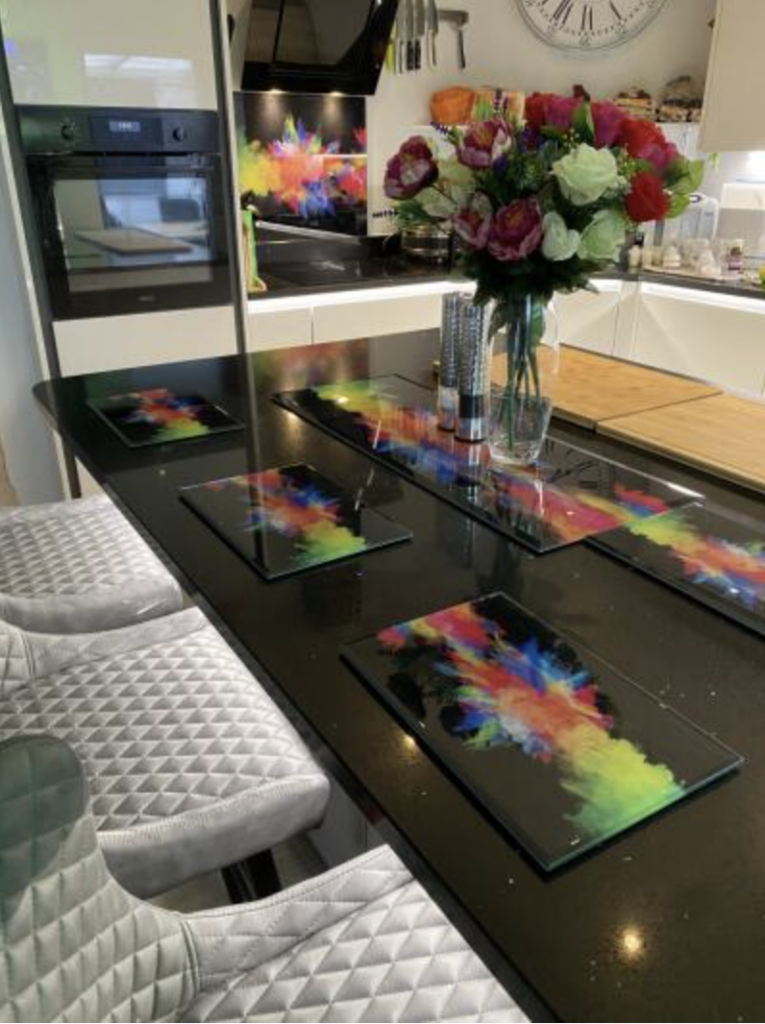
Splashbacks are a fantastic way to add some colour and personality to the room, and with so many options available on the market, there’s sure to be something to suit your taste.
In this blog post, we’ll walk you through the steps necessary for preparing your kitchen for decorating, from rubbing down walls and making sure all surfaces are ready to paint or attaching items to walls, to fitting and attaching a toughened glass splashback.
We’ll also take a look at some ideas for alternatives to tiles. So whether you’re just starting out on your renovation journey or you’re looking for the finishing touch, read on for some helpful tips!
Safety First
As always, safety first! When working with any kind of power tools, take care to read the instructions thoroughly and follow all safety precautions. If you’re unsure about anything, it’s always best to consult a professional.
Step 1: Prepare
Now let’s get started!
The first step is to rub down all surfaces that you’ll be painting or attaching items to.
This will help to create a smooth surface and ensure that your paint or adhesive will adhere correctly.
You’ll also want to make sure that the area is clean and dust-free before you start.
Step 2: Choose your finish
Once your surfaces are prepped and ready to go, it’s time to start thinking about your splashback.
Splashbacks are a great way to add some personality to your kitchen, and they’re also very practical, protecting your walls from spills and splashes.
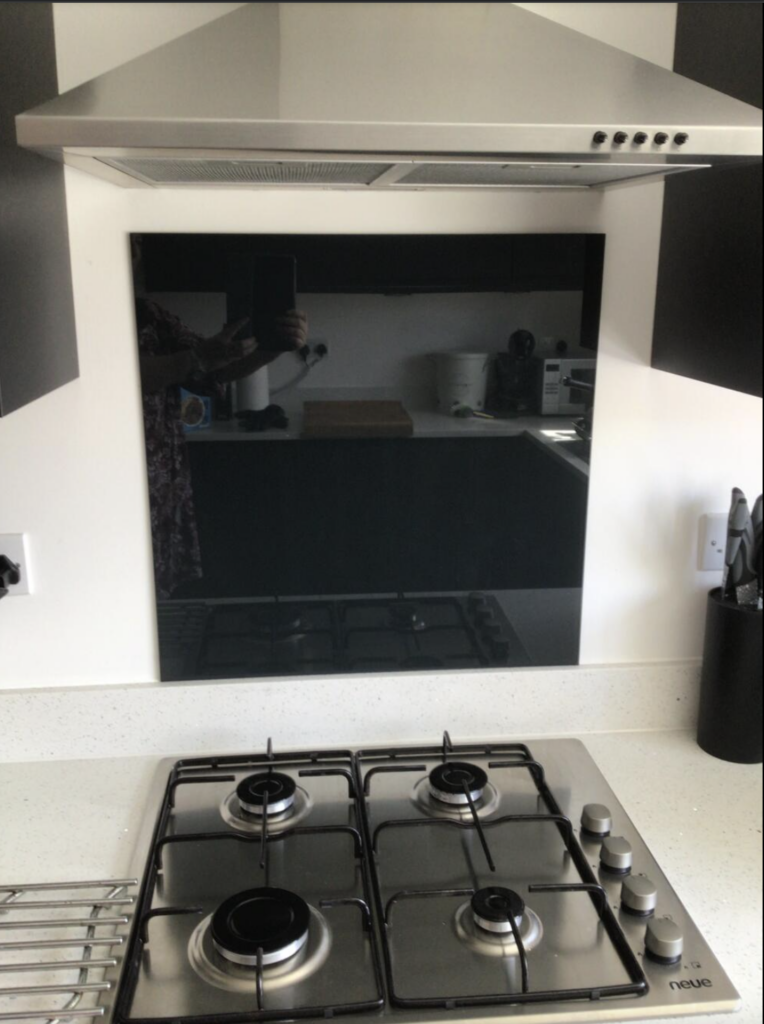
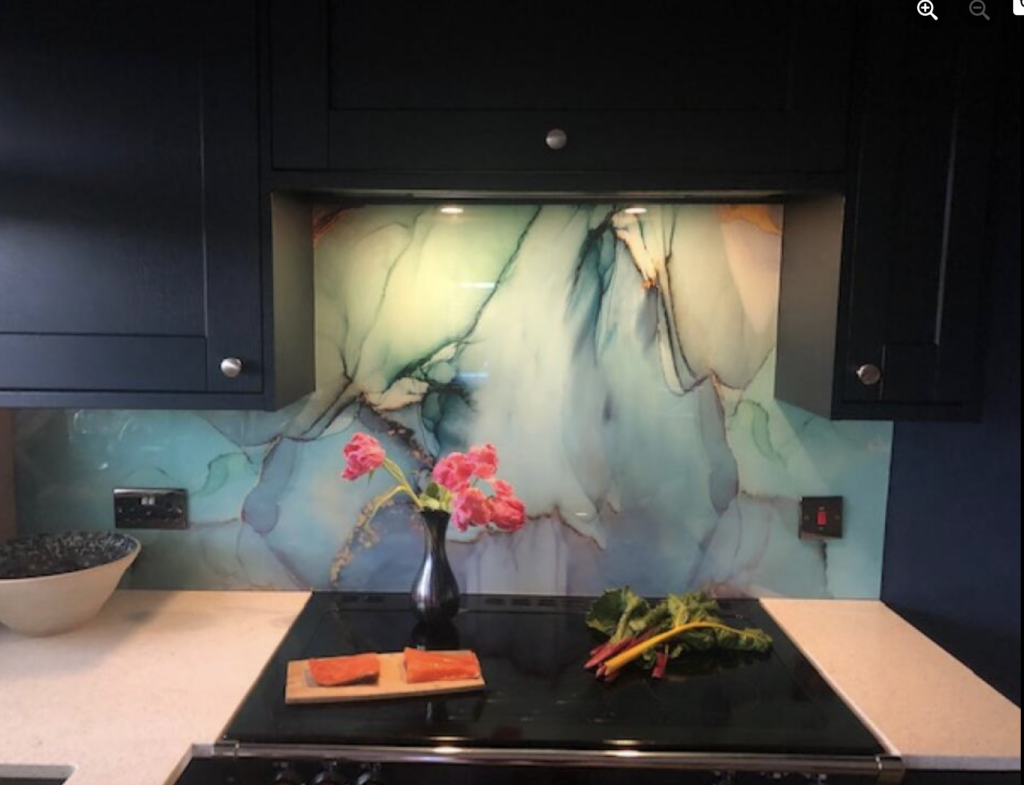
There are many different materials available on the market, from glass and ceramic tiles to stainless steel and acrylic.
It’s important to choose a material that is durable and easy to clean, as well as one that complements the overall look of your kitchen.
Step 3: Fixing your spalshback correctly
When it comes to fitting your splashback, there are a few things to keep in mind. First, always use a guaranteed adhesive.
This will ensure that your splashback is properly secured, won’t come loose over time and also won’t react badly to the paint or ink used to print your splashback.
Second, take care to measure correctly and leave the appropriate amount of space around outlets and other fixtures.
Splashbacks can be custom-cut to fit your space, but it’s important to make sure that you leave enough room for expansion and contraction.
Step 4: Keeping your splashback safe
Finally, when choosing an alternative to tiles, keep in mind that some materials may require specialised installation methods or may not be suitable for all types of kitchens.
Step 5: Enjoy and admire!
So there you have it!
Splashbacks are a great way to add personality and protection to your kitchen.
Just follow these simple steps and you’ll be on your way to creating the kitchen of your dreams!
Happy decorating!